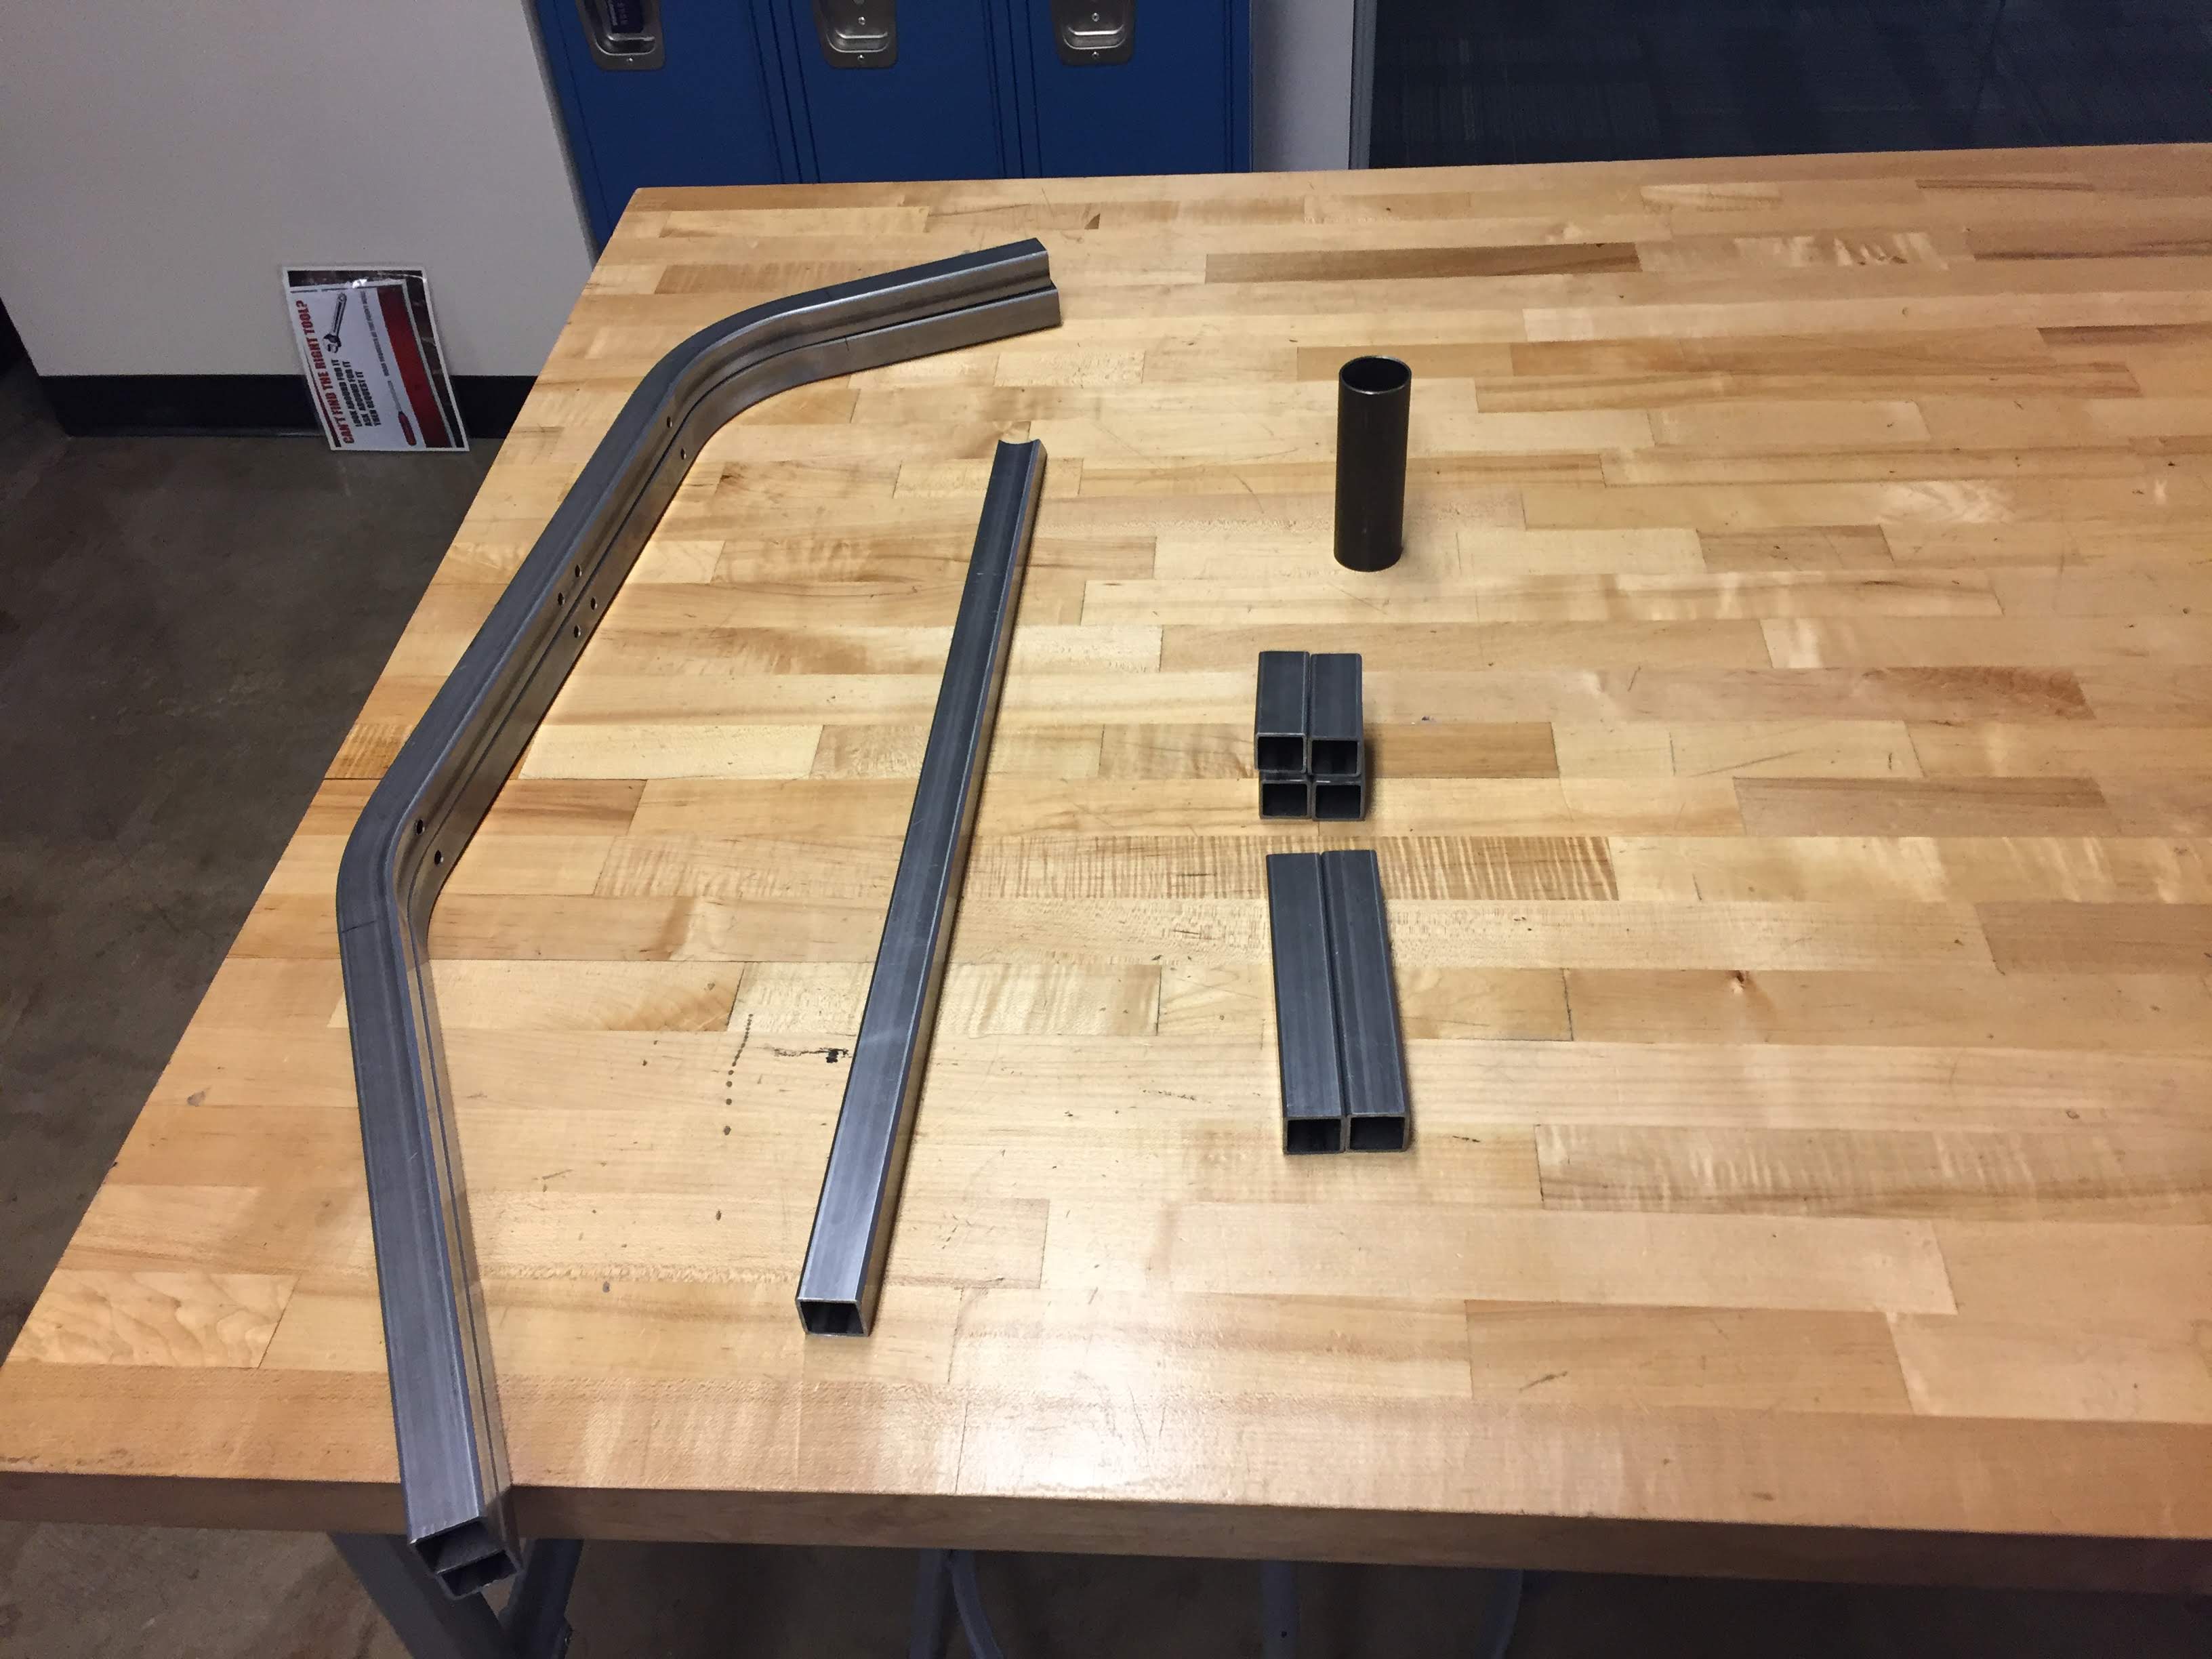
All of the 1" steel square tubing cut, bent, drilled and ready for welding.
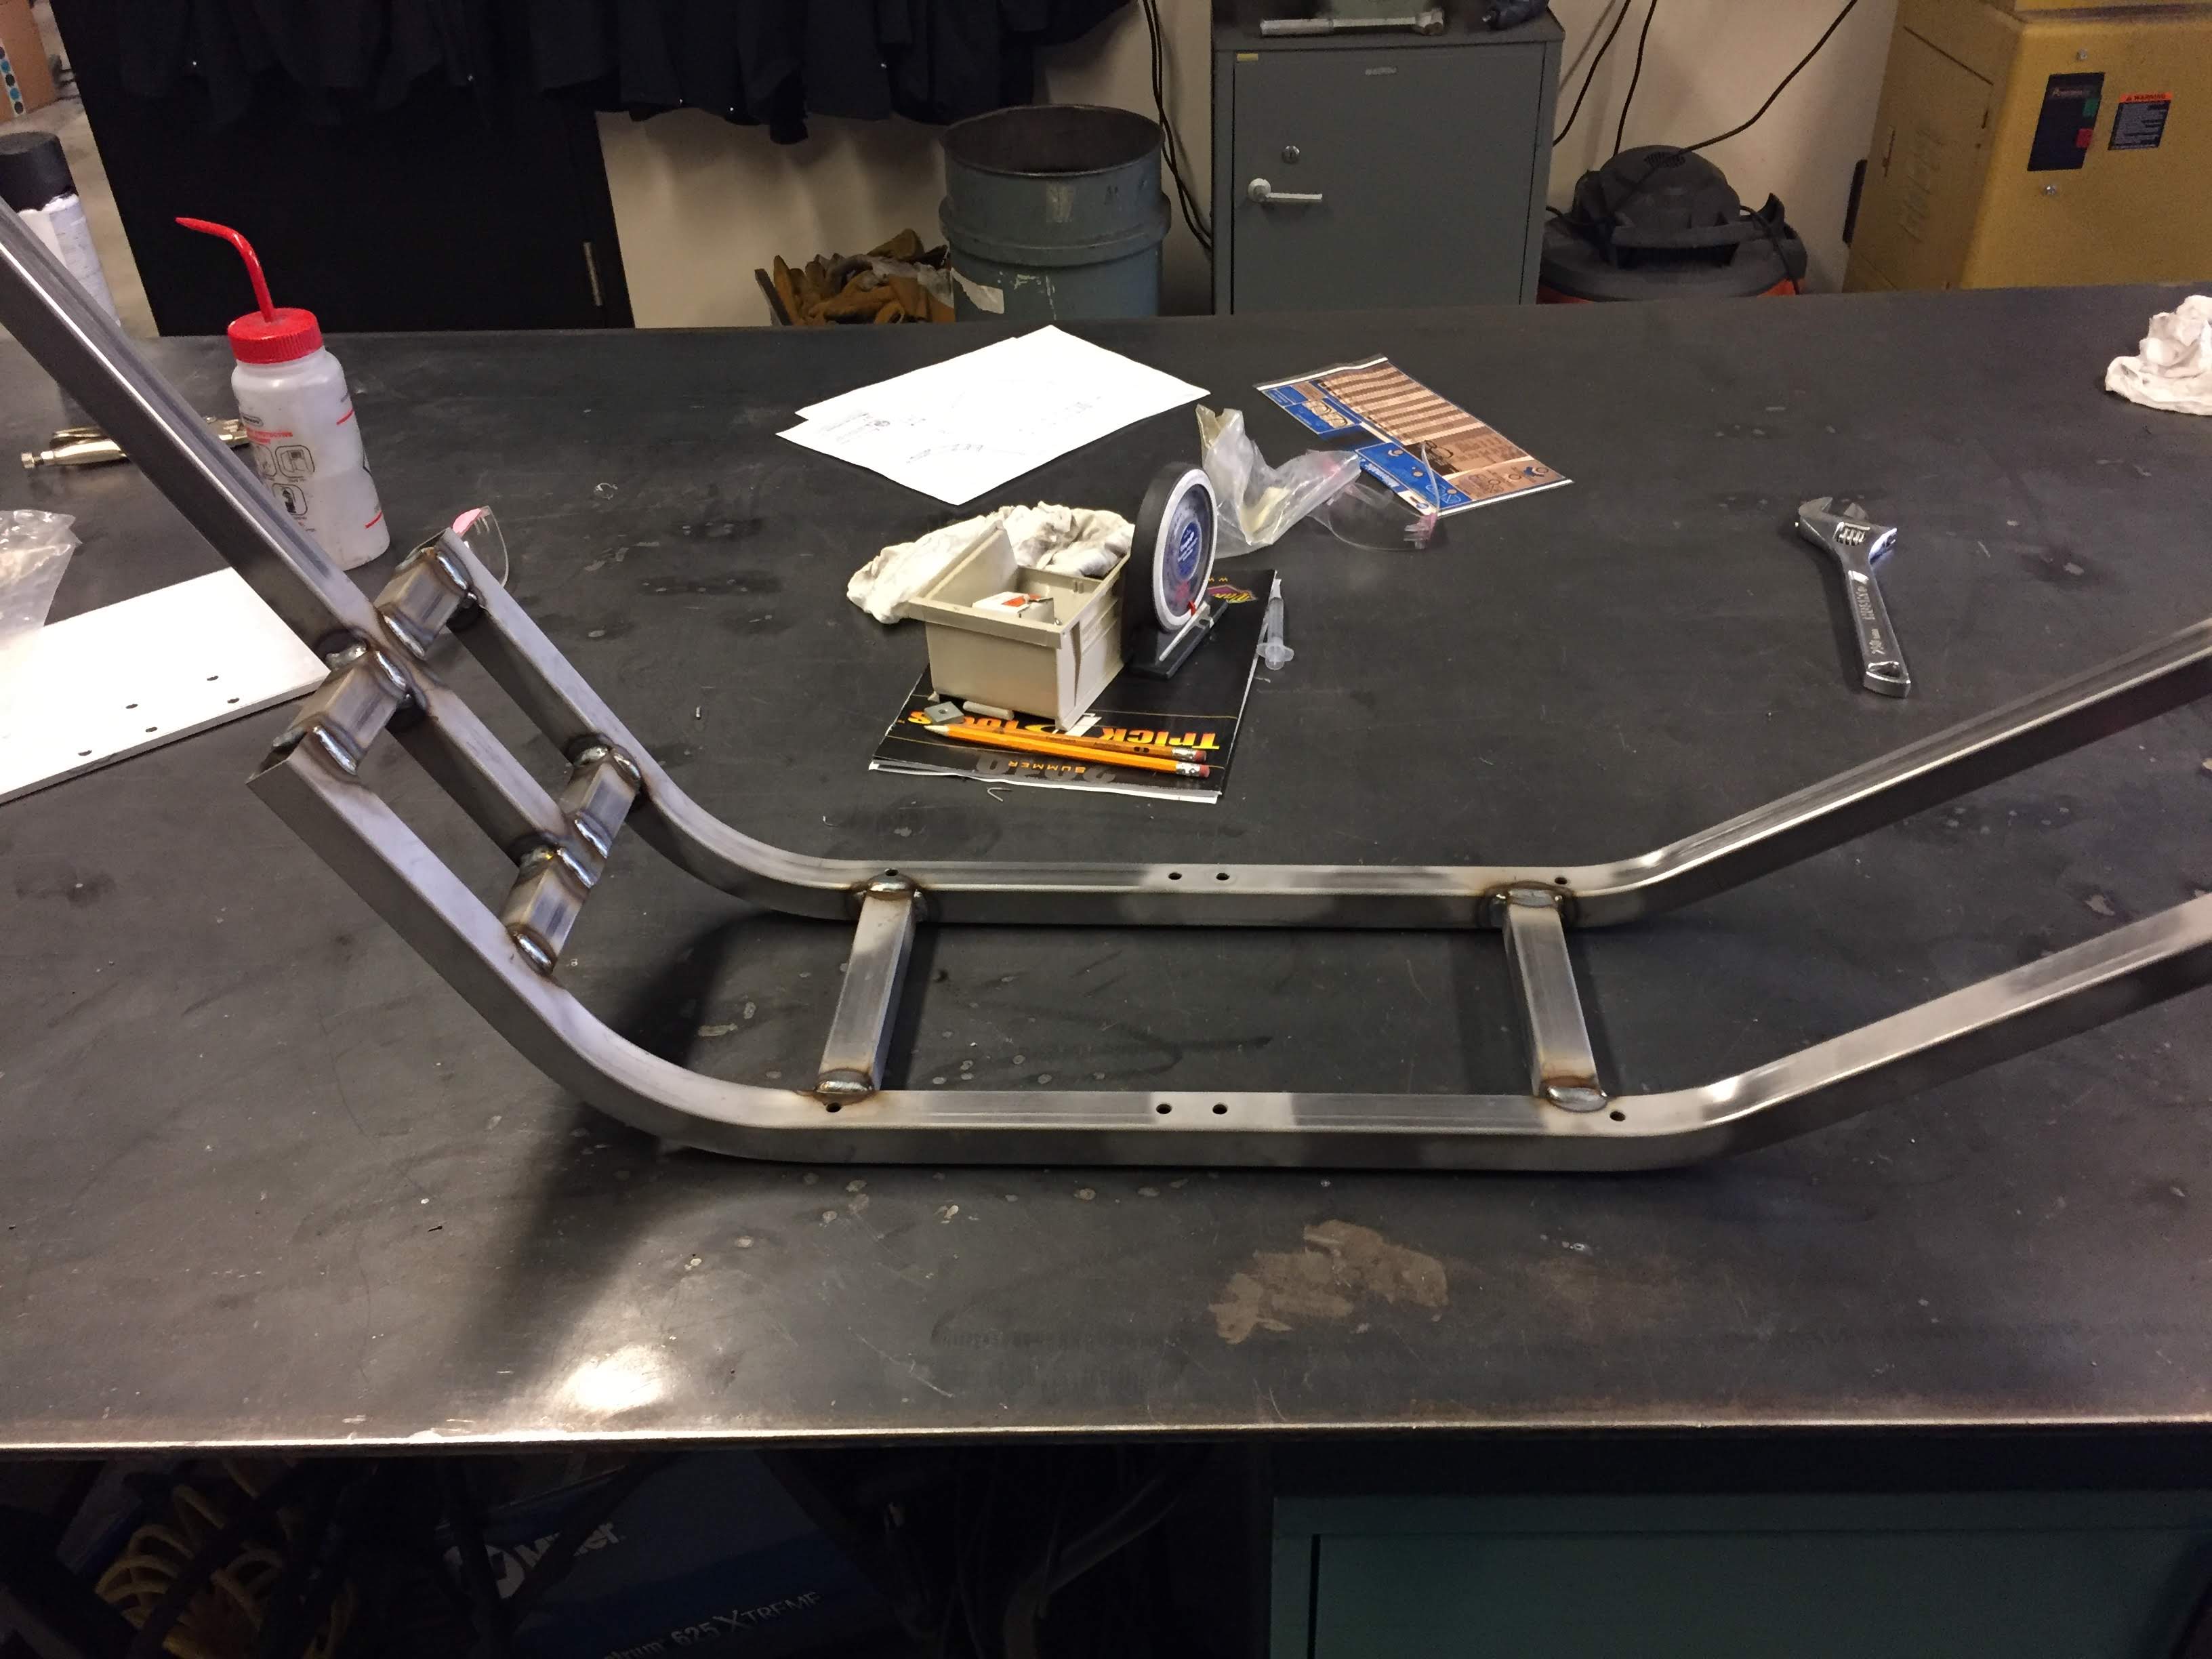
The frame after welding. Although I had done a decent bit of MIG welding before this, it was pretty stressful!
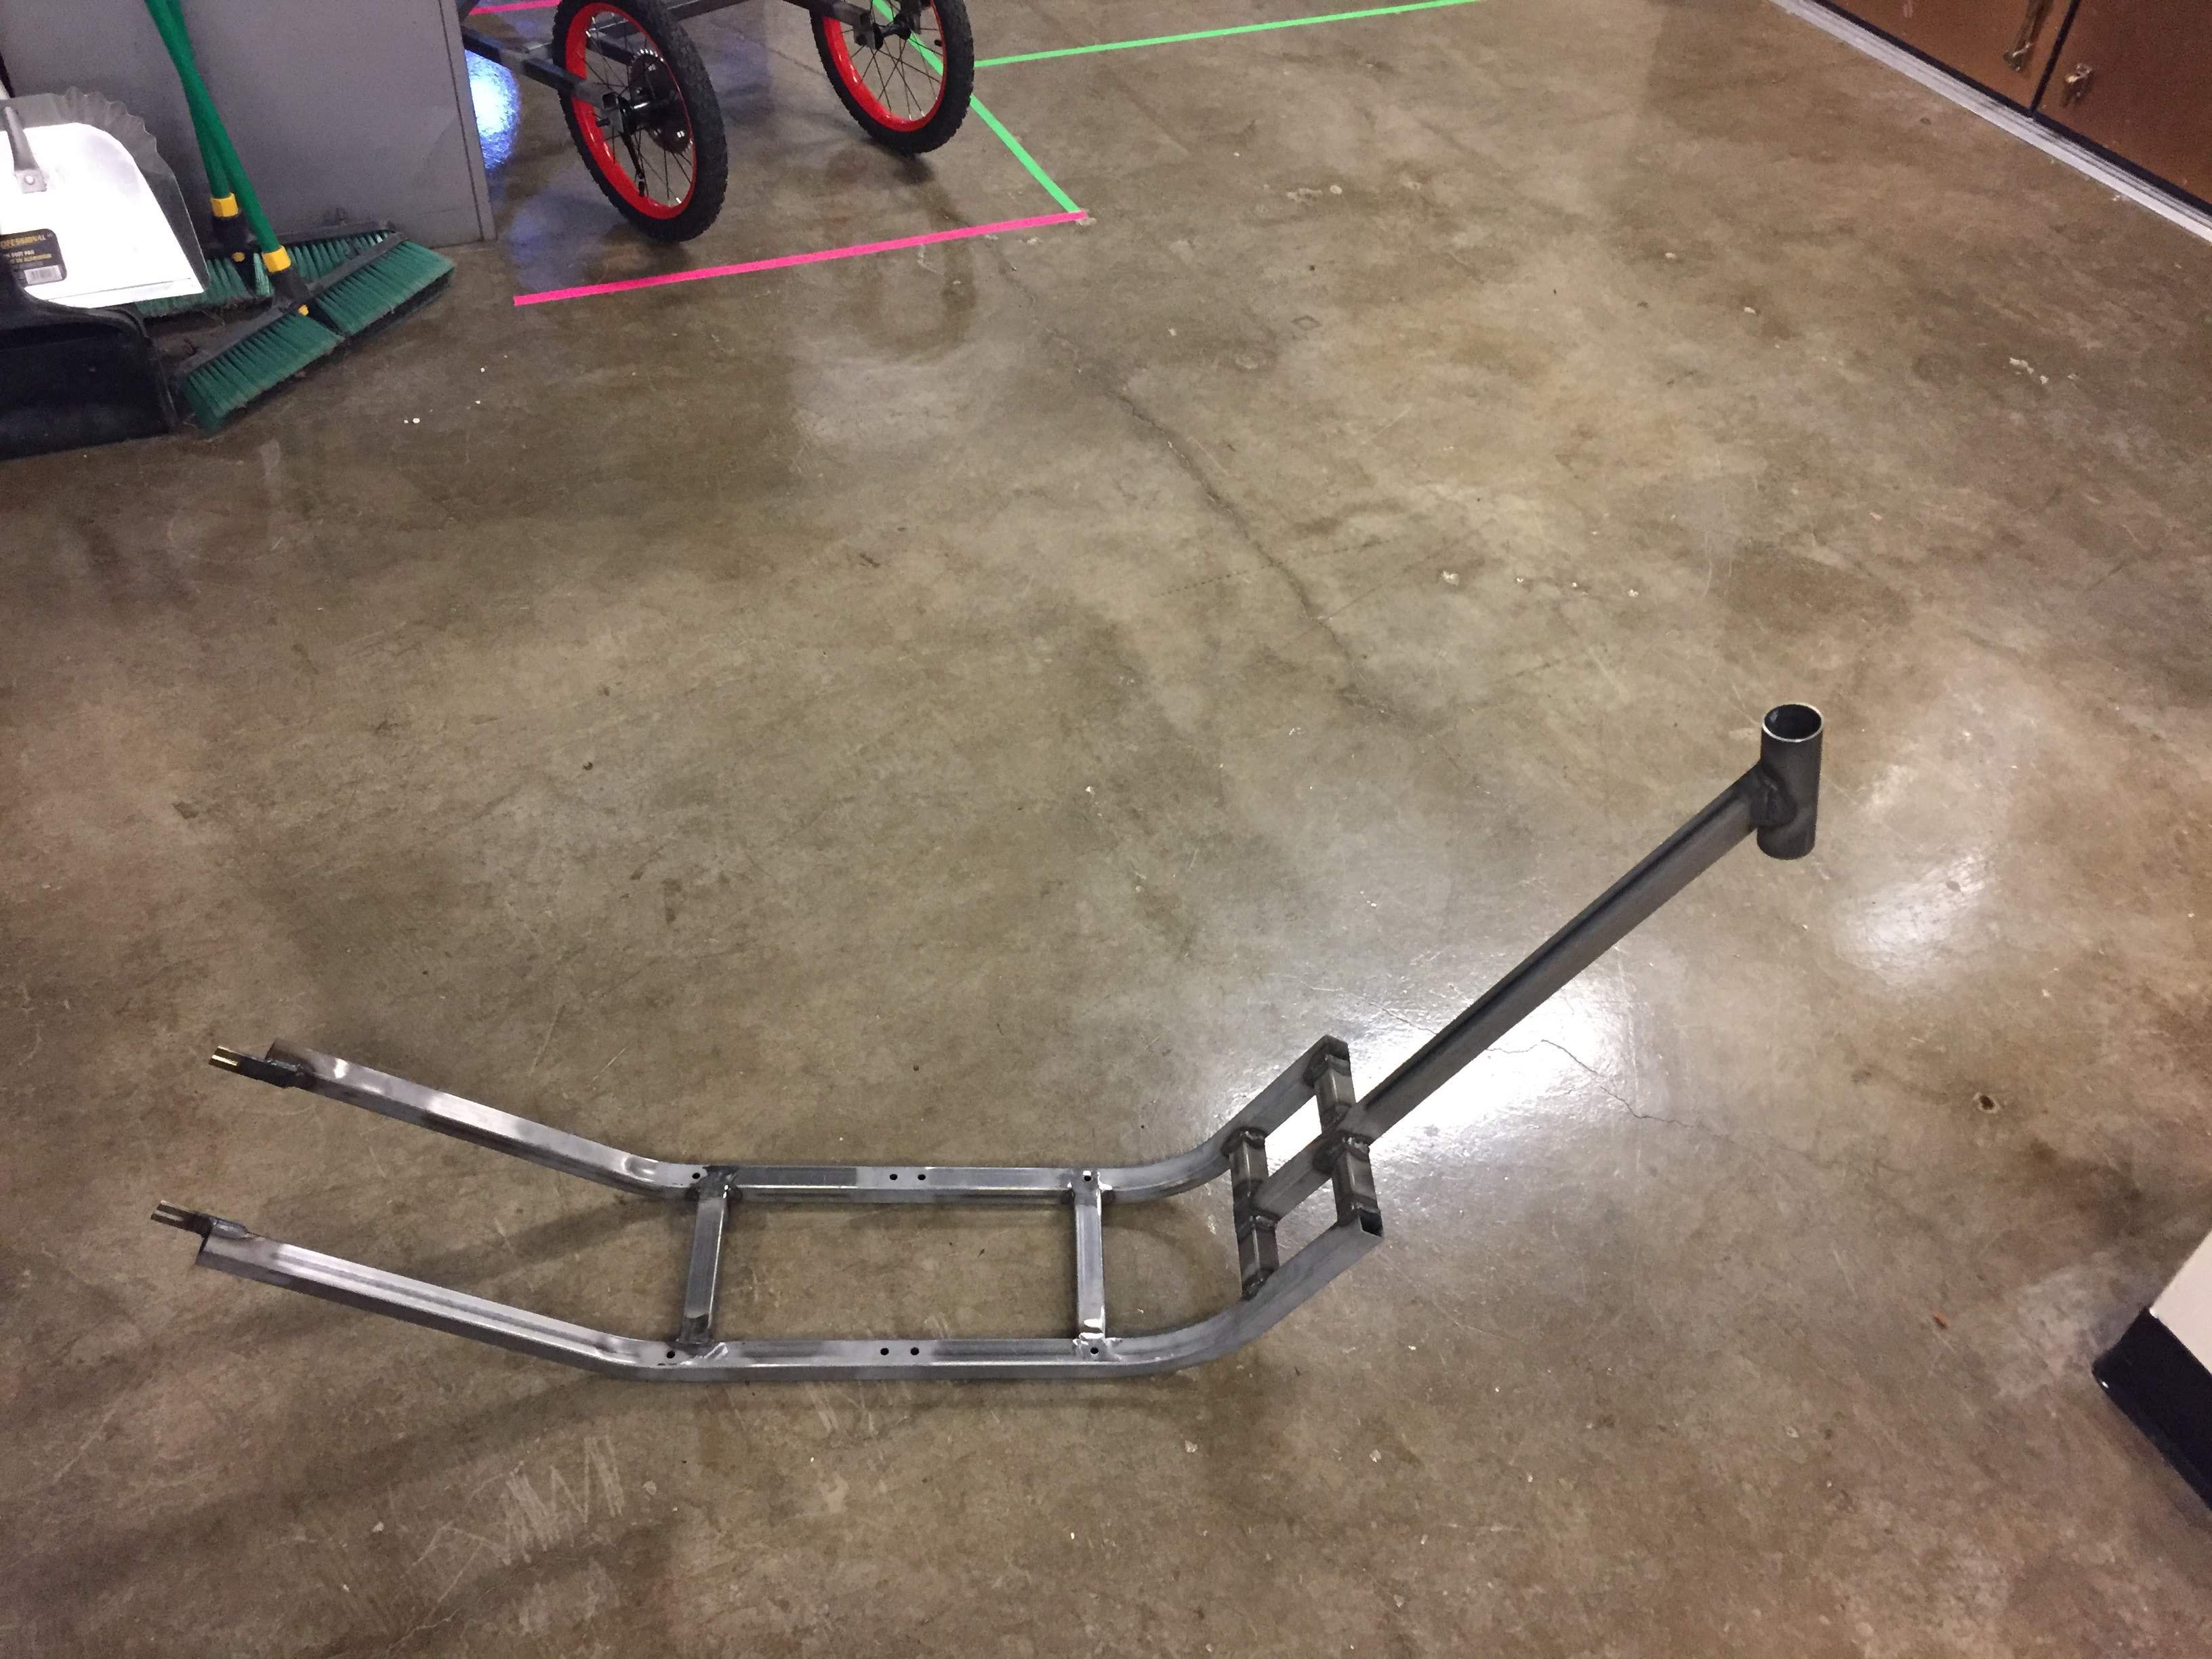
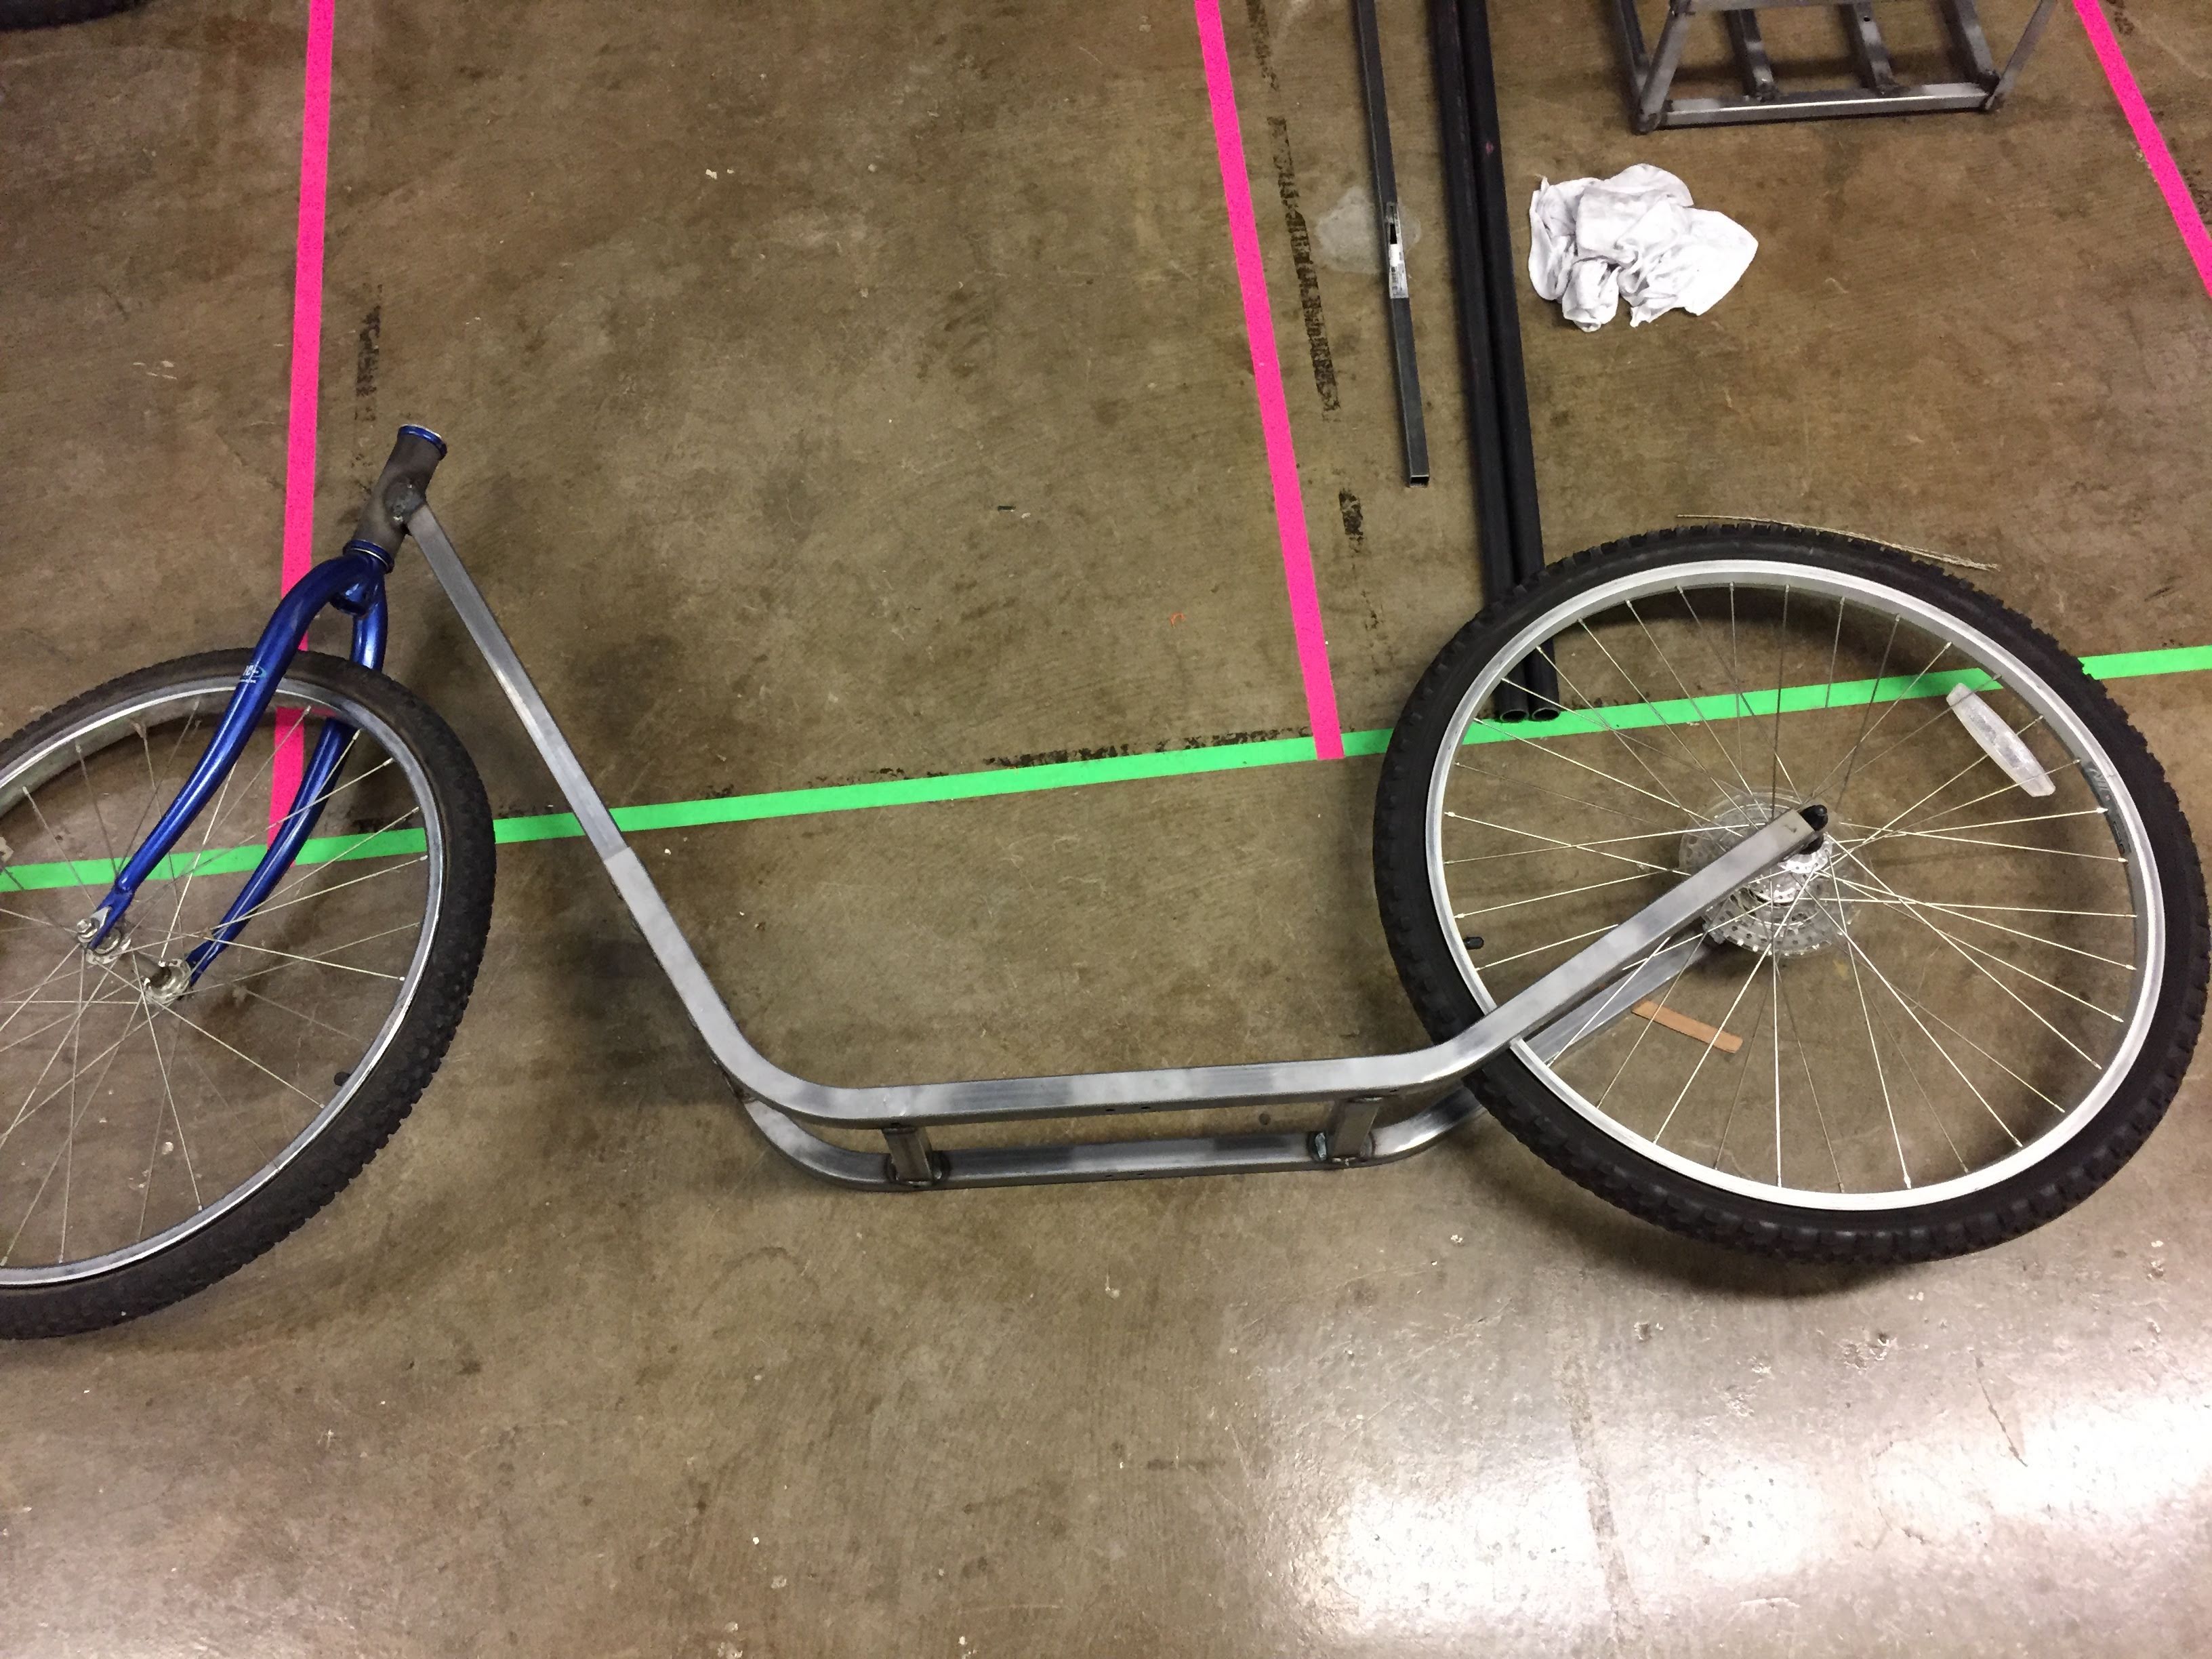
Another view of the full frame welded. The headtube has a 15 degree rake angle to allow easy steering and the rear wheel mounting utilizes dropouts for chain tensioning.
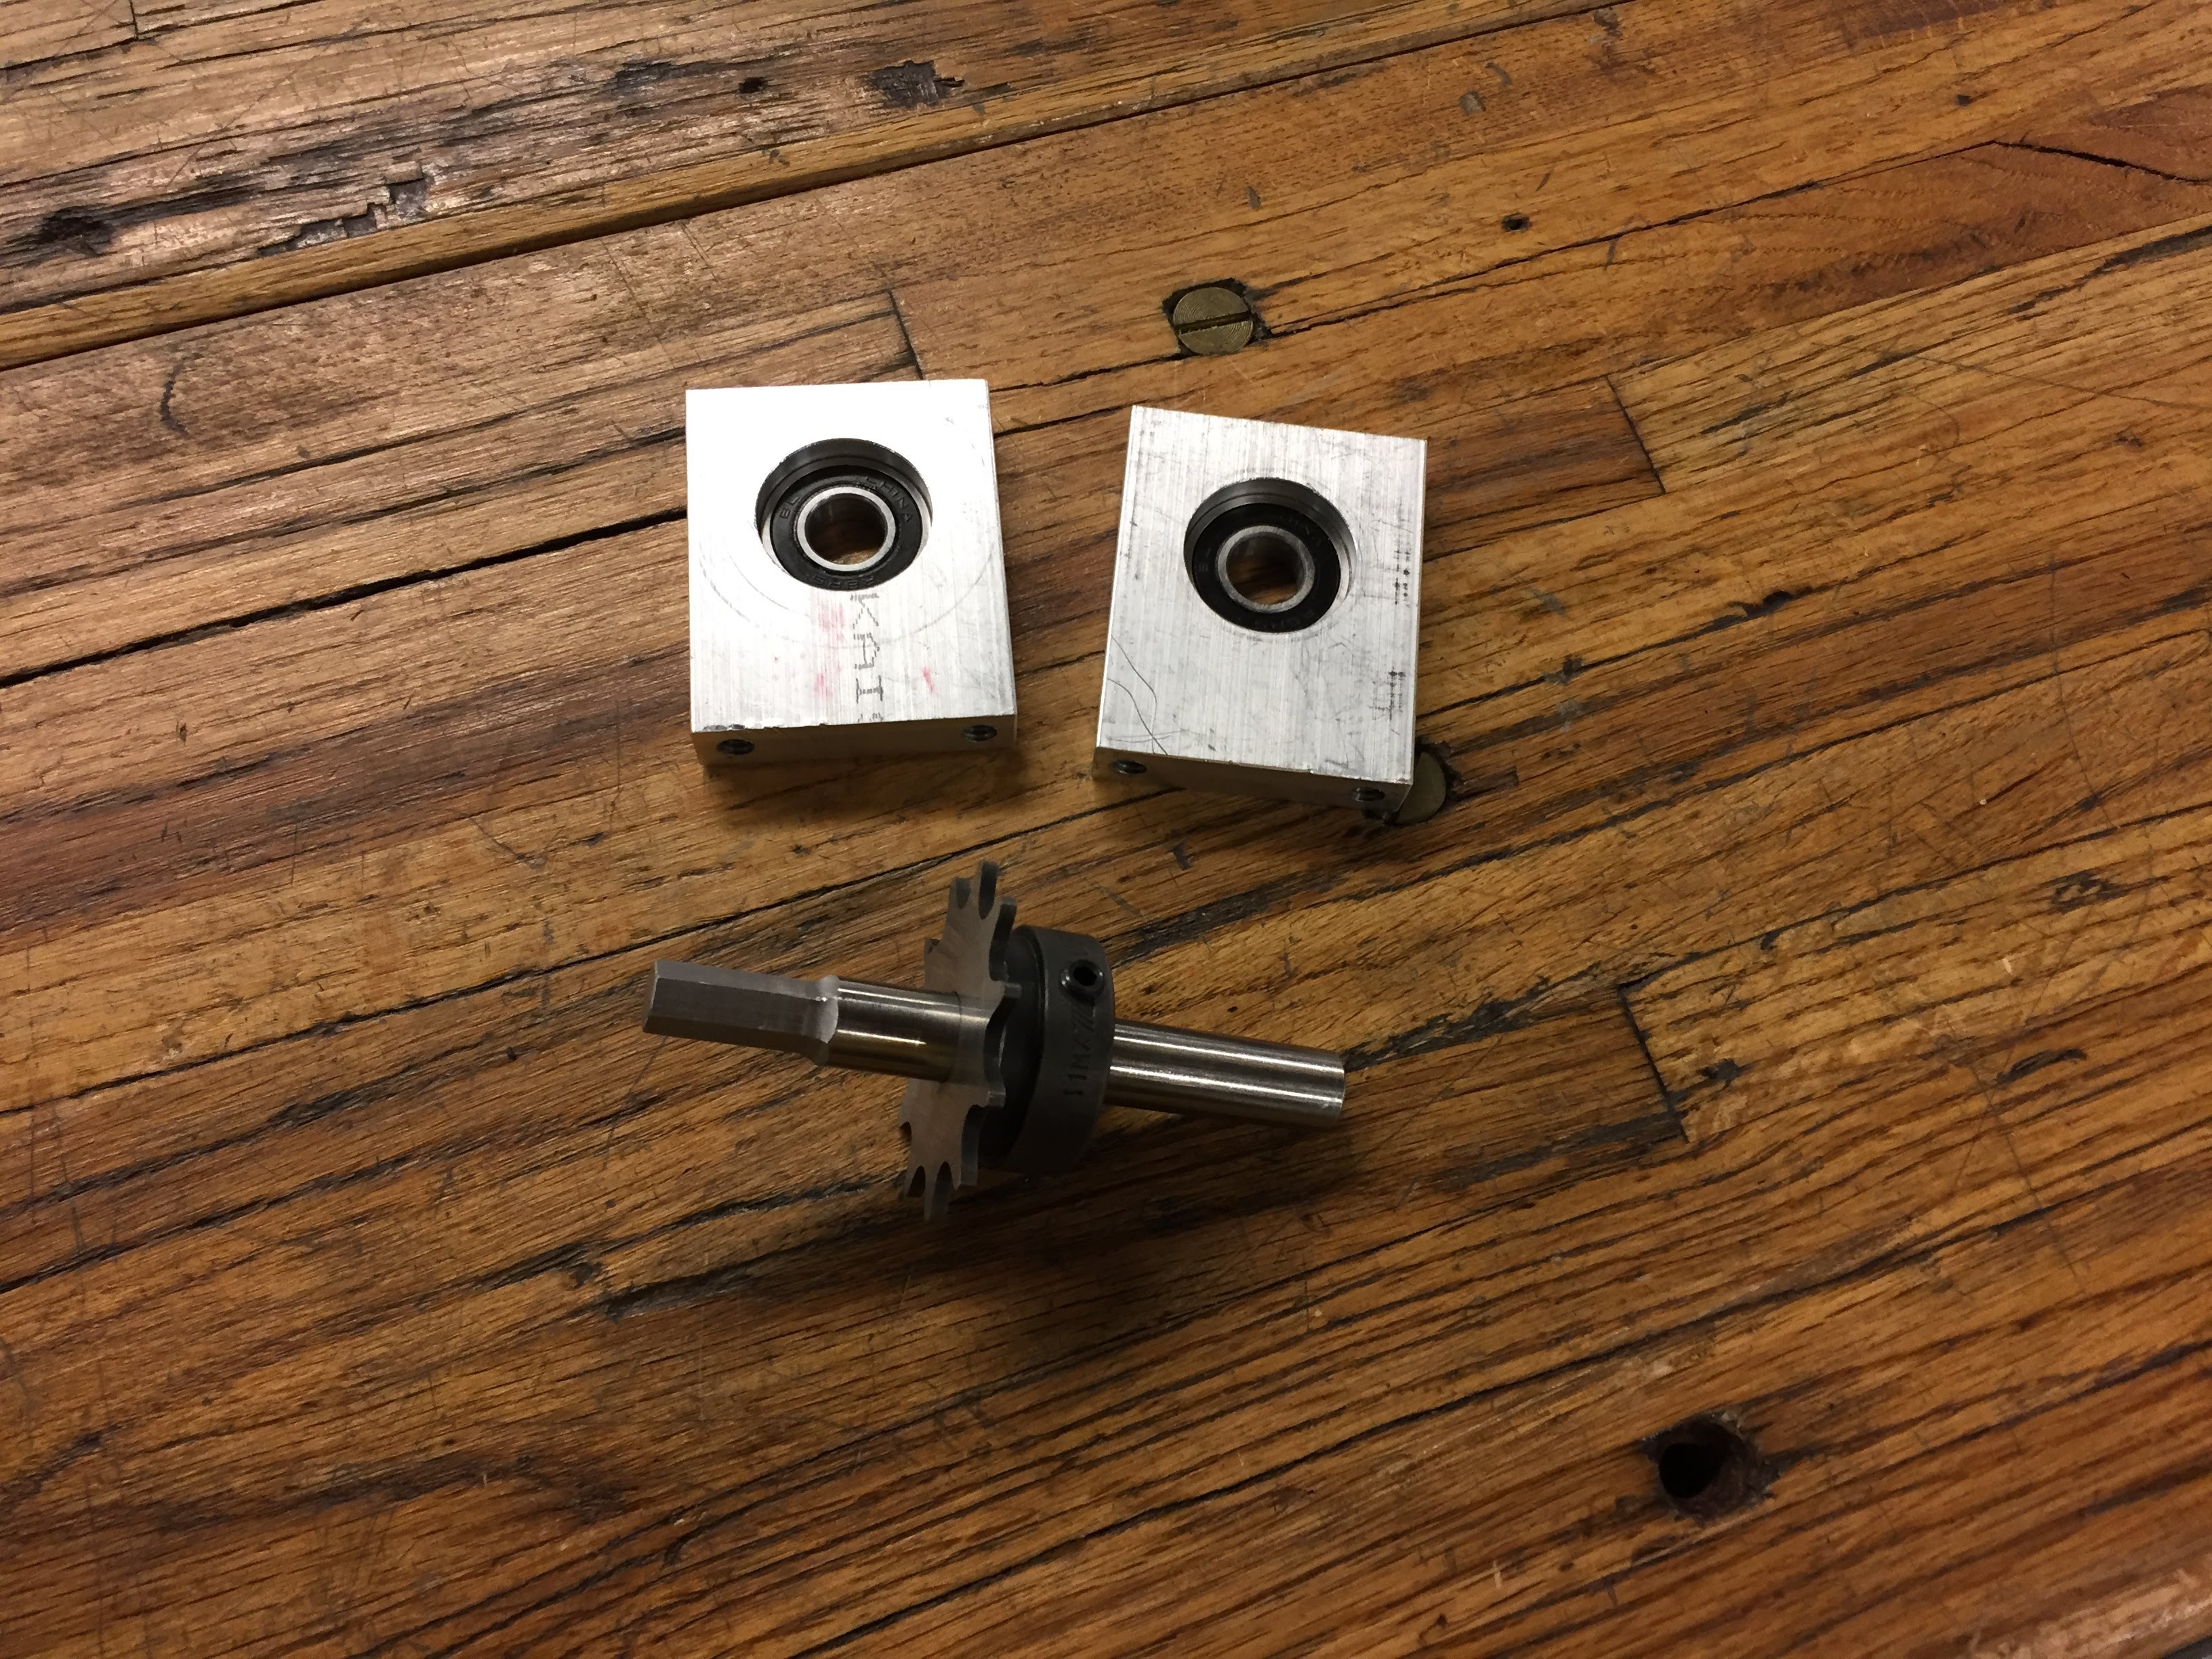
The two pillow-blocks, sprocket and shaft after they were machined. The end of the sprocket was hexed to allow it to fit into the drill chuck. The pillow blocks support the shaft, and the sprocket is attatched via set screws.
The frame assembly with wheels attached. The wheels, front fork and handlebars were the only off-the-shelf components.
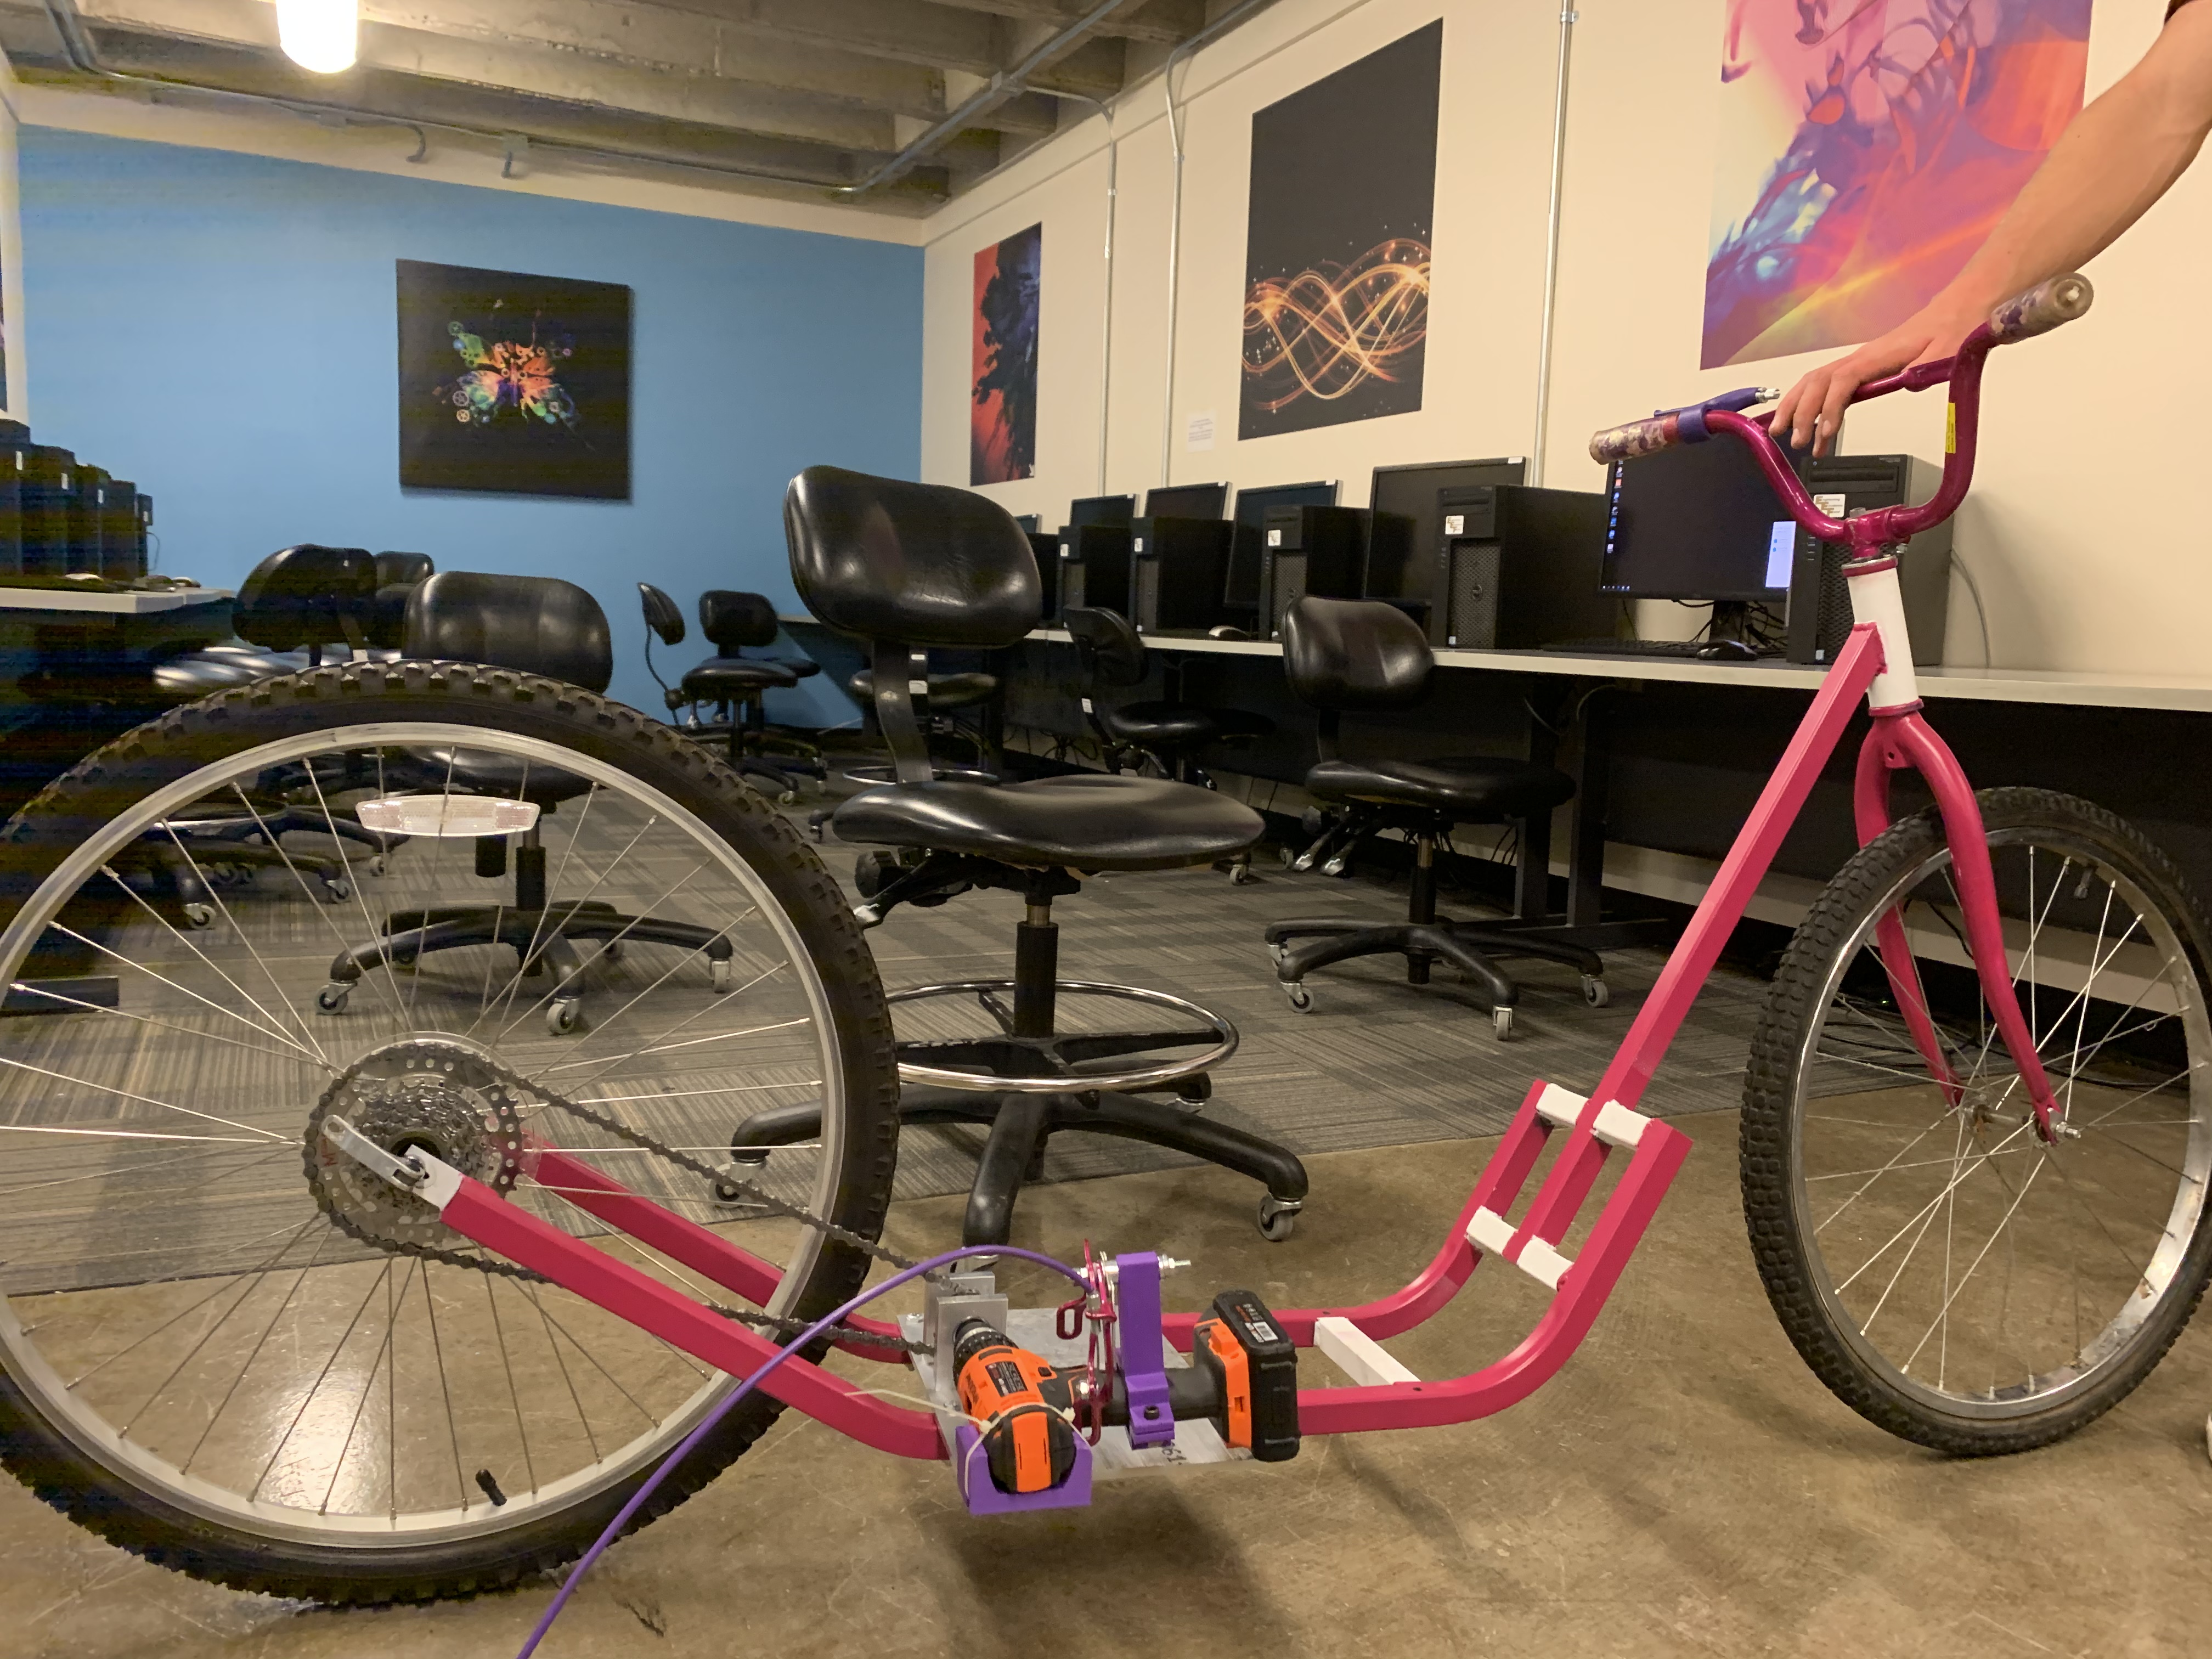
The full assembly. The purple 3D printed part holds a v-brake which is connected to a brake lever on the handlebars to depress the trigger. The drill is fixed to a custom 1/4" aluminum plate.
About this project
Component Design focuses on mechanical design, and all of the essential steps to creating a safe, functional design. The lectures in this class suplement the main project which is to design and build a drill powered vehicle, from scratch, to perform well in various challenges. Our team chose to compete in the endurance race, where the winner makes the most laps around a circuit before their bike stalls. We chose to build a two-wheeled scooter design to minimize weight. I did most of the design work in SolidWorks, and spent a ton of time in the machine shope cutting, bending, milling and welding various parts. Our team ended up placing second at the runoff!